telescope build: work in progress (2)
6 inch f-15 refractor build update
Gary Ayres
4/27/20253 min read
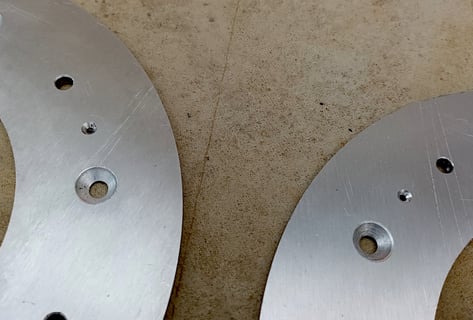
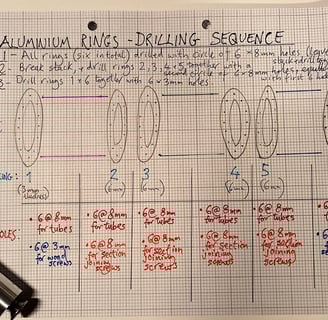
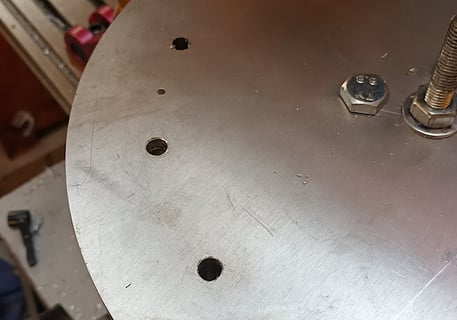
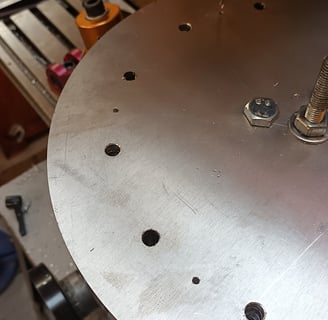
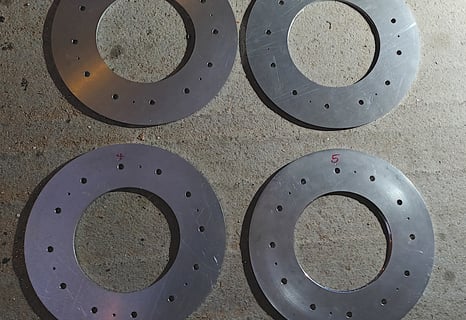
The next step was to start drilling the various holes in the four aluminium rings which are a key part of the two joints of this three-section telescope. There are three types of holes in these rings:
6 x 8mm holes for bolts which pass through the plywood components of the rings and attach the aluminium rings to the anodized aluminium tubes which - together with the rings - form the main frame of this open-tube refractor.
6 x 8mm holes for bolts which pass through the aluminium and plywood ring assemblies and join the three sections of the telescope together when assembling the instrument for each use.
6 x small holes for wood screws which fix the aluminium rings to their plywood counterparts.
The overall layout is shown in this sketch:

The object at bottom left was the result of an initial experiment with making connectors to join the anodized aluminium tubes to the rings. I won't go into this now as it should make it easier to follow this build log if I stick with the rings and detail my work on the tube end connectors later.
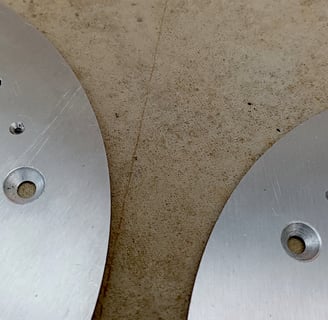
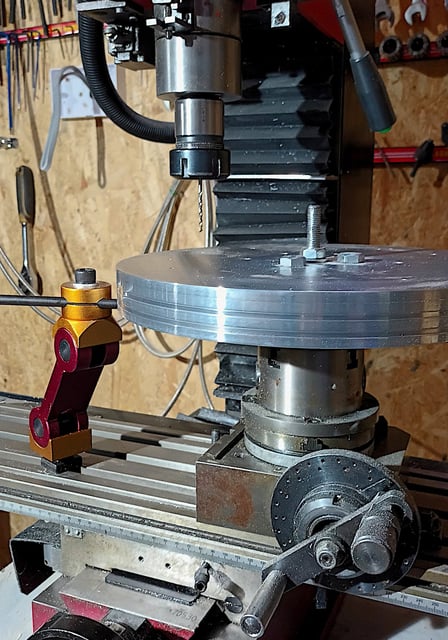
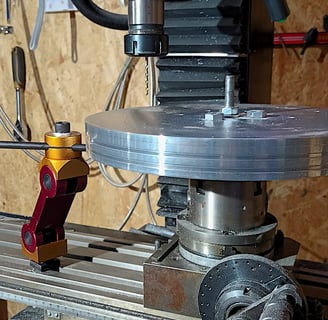
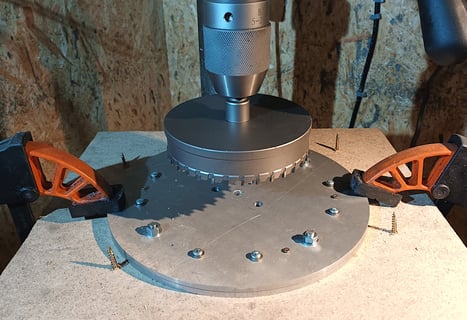
The job of drilling the various holes in the various rings was complicated by the fact that the two rings at the ends of the telescope have different hole requirements from the four in the middle of the scope. As far as possible, in order to keep everything uniform, I stacked the rings in the milling machine to drill the holes. This was possible for most of the drilling, though not for all of it, so after some initial drilling the two rings for the objective and eyepiece ends of the telescope were put to one side while work continued on the four internal rings. The photos below are representative of the process:
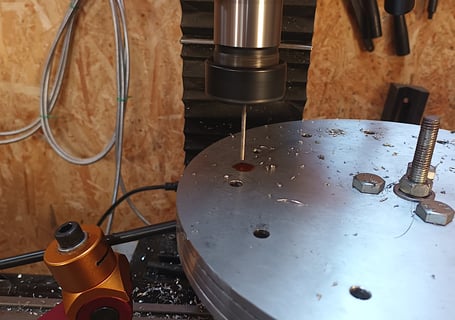
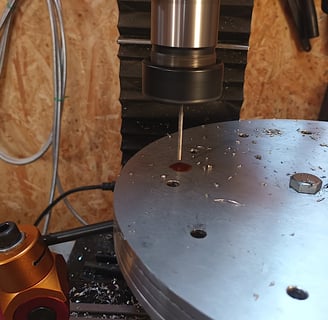
Once all the holes were drilled, the central bore was cut in the scope's four middle rings using a 150mm hole saw mounted in the drill press. Careful setup and centre location was required at this point in order to maintain concentricity between the bore and the outer diameter of the rings. This time the rings were stacked two at a time:

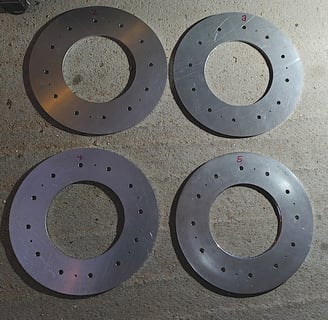
The saw was brand new and made short work of cutting the holes. Only a small amount of deburring was needed...
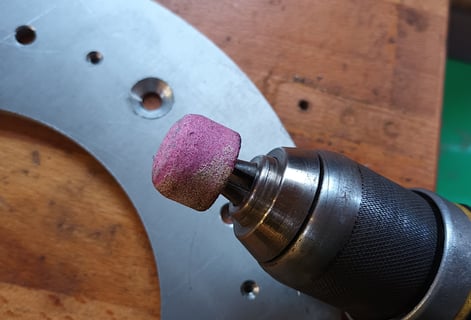
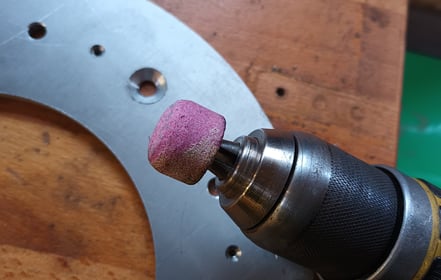
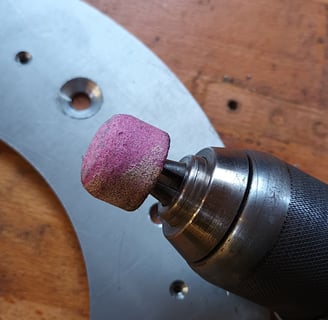
Finally, the six holes which connect the anodized tubes to the rings were countersunk. This threw up a significant burr which was removed very effectively with a grinding stone held in a hand drill: